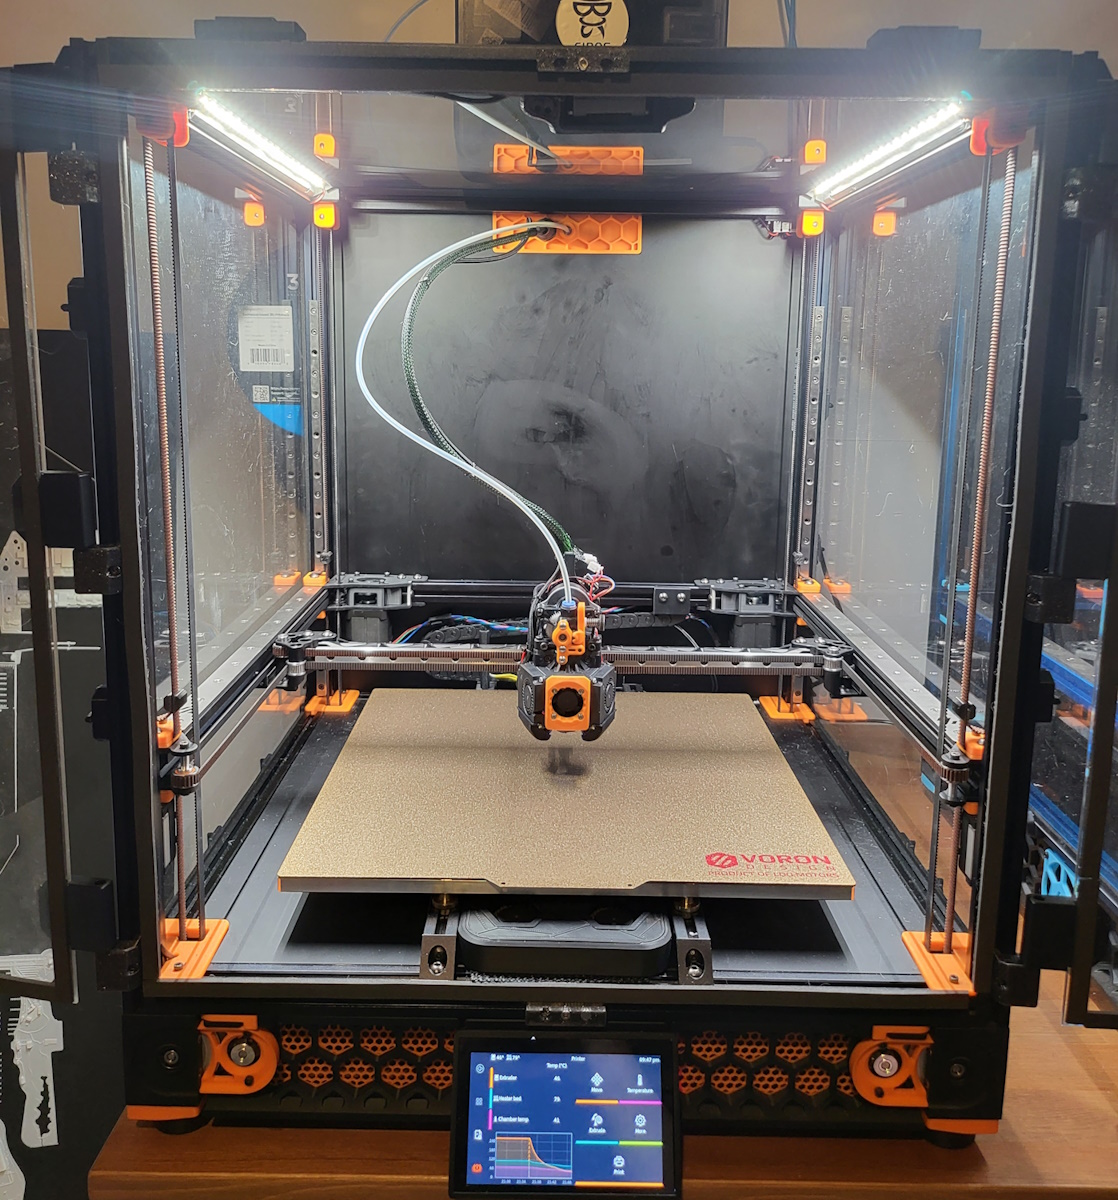
Voron v2.4 Metal Gantry Mod
 Image Credit: @jeremytodd1 on the Voron Discord
Getting Started
Maybe you aren't ready to go full AWD yet but increasing the rigidity of your gantry will help with IS resonances and metal plates can provide additional heatsinking to steppers.
Sourcing / BOM
Affiliate Link Disclosure
Some of these links contain affiliate codes. If you buy through an affiliate link, I may earn a commission on your purchase.
Recommended Steppers:
Vendors
These vendors have pre-cut plates in stock and ready to ship.
Self-Sourcing
Tip
Recommended material: 5052 Aluminium, 0.125"/~3.2mm
- US
- Europe
- LaserBoost (Spain)
- Use 3mm 5754 Aluminium for all parts
- LaserTeileOnline (Germany)
- Use 3mm ALMG3 Aluminium for all parts
- LaserBoost (Spain)
- China
BOM
Tip
You will be able to reuse all of your F695-2RS bearings from the stock AB drives and idlers.
- 16x F695-2RS Bearings
- 2x M5x30mm
- 2x M5 Nuts
- 6x 20mm M3 Metal Standoffs (or DoubleT pins)
- 12x M3x8mm
- 8x M3x30mm
Standoffs or Pins
Warning
While you can get away with M3x20mm standoffs, they are a bit of a crapshoot for fitment. You may have to sand a bit.
Sources:
- DoubleT Pins:
- M3x20mm Pins:
Printed Parts
- The printed parts are listed in the STL directory of the GitHub repo under STL/NEMA17/MetalPlates.
- You do not need the 'Front_MidBody' parts.
- You DO need x4 of the '10mmSpacer' parts.
- If your Rear Plates aren't all identical (ie, v1 plates), you'll need to print the 'v1 Plate' parts in the MetalPlates folder instead of the 'Rear_Clamp_Grip" and "Rear_Clamp".
Assembly
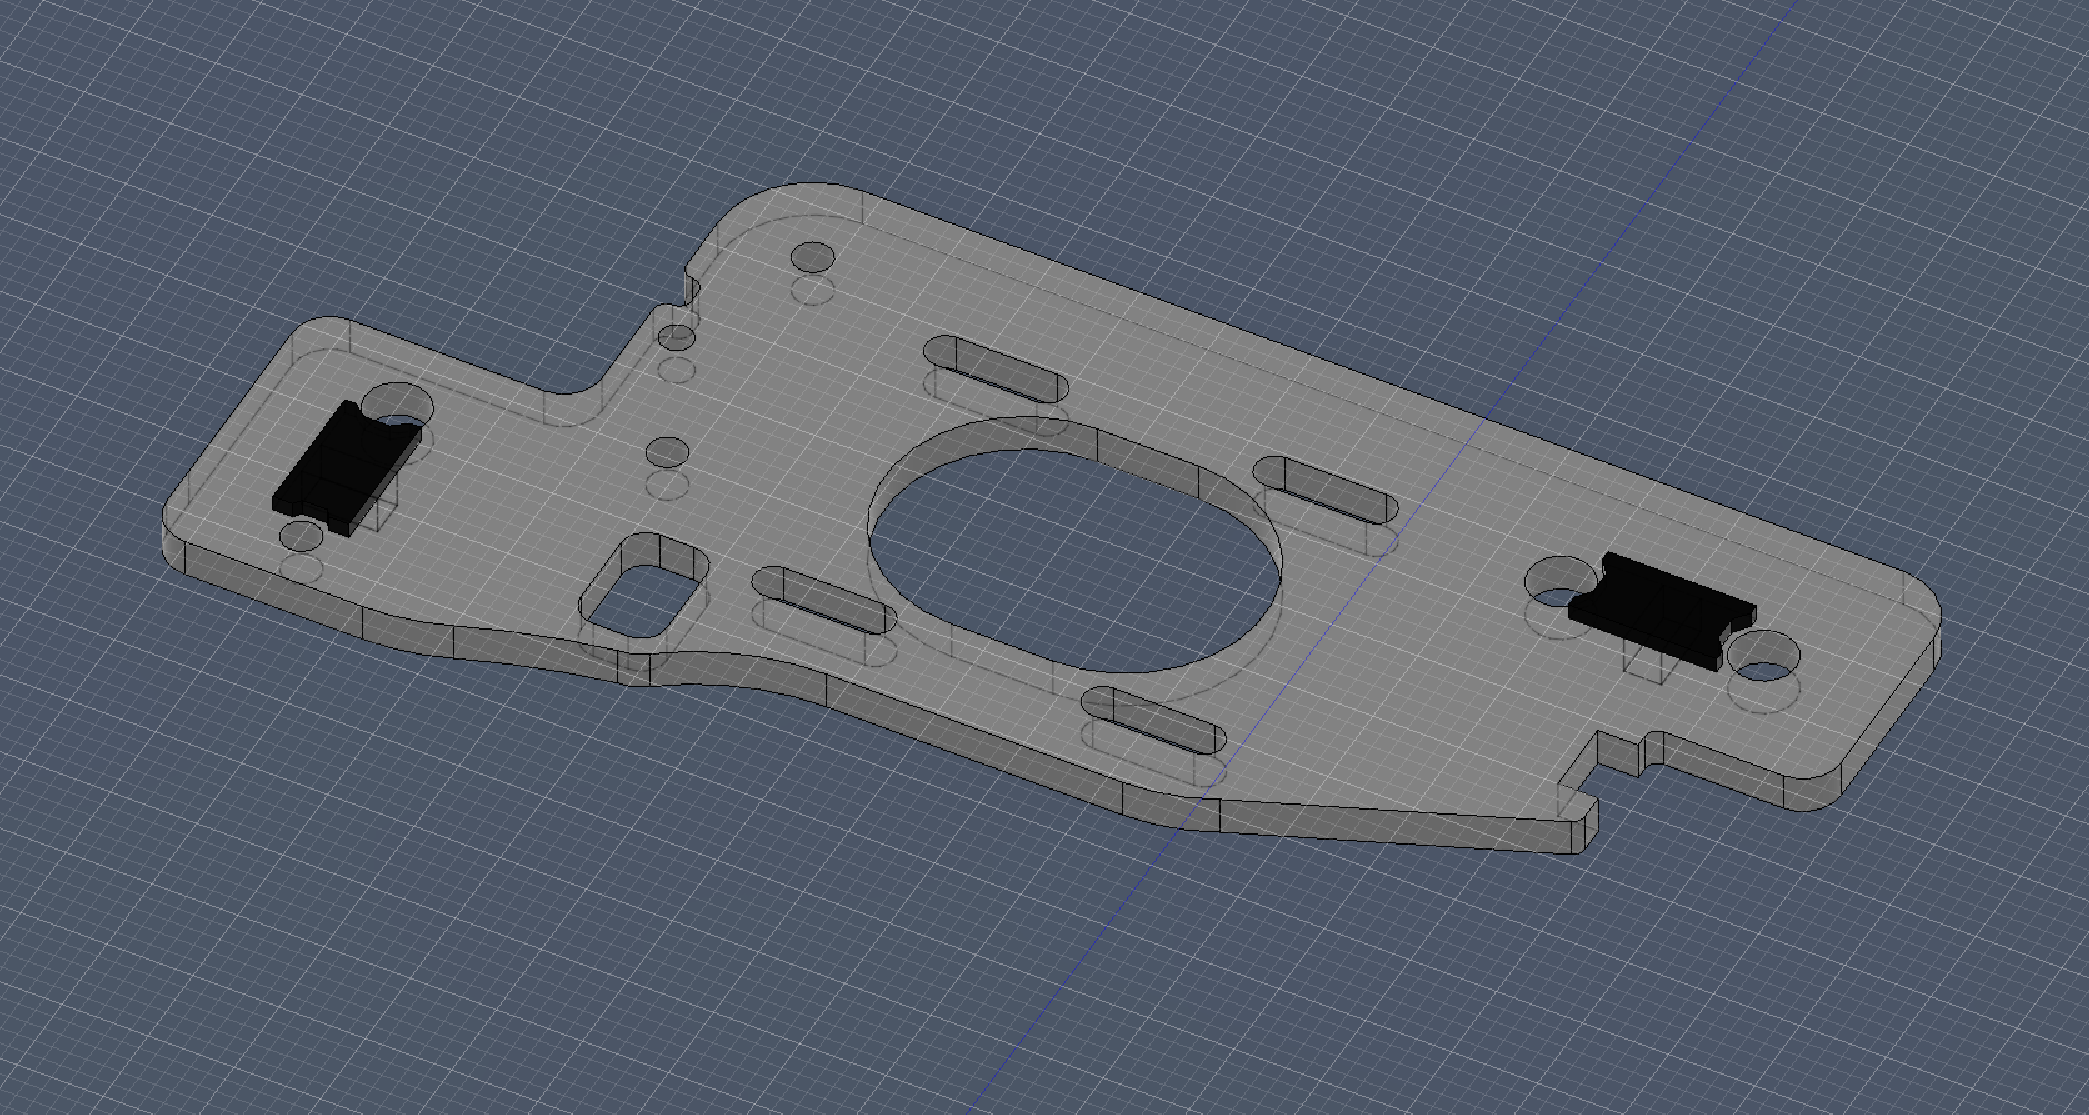
The slots in between the mounting holes are for the printed aligners. These will help index the parts into the the extrusion slots.

Use the CAD for info on how to assemble.
Filing for Fitment
Laser cut parts aren't perfect, it's likely that you will have to sand or file some parts to knock off burrs or to ensure a tight fit. If your parts are anodized, consider which area will be most visible before filing.
Belt Pathing
The belt pathing for 2WD is identical to a stock v2.4.
- Your A Stepper (Back-Right) will be on the upper belt and the B Stepper (Back-Left) will be on the lower belt.
- Idlers match the stepper that is directly behind them, just like in the stock v2.4 setup.
Tensioning
- Loosen the 4 stepper mounting bolts slightly so the whole tensioner can move freely and move it to the slackest setting.
- If you do not loosen them enough, you WILL bow the tensioner plate.
- Ensure the belts are well secured and tensioned equally at the toolhead.
- Your belts should be equal in length and have the same amount of teeth sticking out past the toolhead.
- Turn the M5 bolt clockwise to increase tension to desired amount.
- Tighten the 4 stepper mounting bolts before testing.
Klipper Configuration
Changes needed
None
Still Have Questions?
You can find discussion about this mod in:
- Armchair Heavy Industries Discord - There is a thread in
user-projects - There is a thread in VOC_Works on the Voron Discord - you need a serial to access that area.